
Introduction
In this post I'm going to walk through managing your website content using Prismic CMS. The things I talk about in this post are intended to be a guide for clients using websites I built, so the information will be specific to how I build websites.
Pages and posts
Pages and posts can be managed on the Documents screen in your Prismic dashboard. Depending on your website you may have different type of pages/posts. For example some websites maybe have normal Pages, as well as Blog Posts and Recipes. The instructions in this section will apply to adding any of these to your website, just be sure to select the proper type when adding a new document.
To view all your documents, navigate to the Documents screen by locating the icon with four horizontal lines in the left side bar.
Add a new page
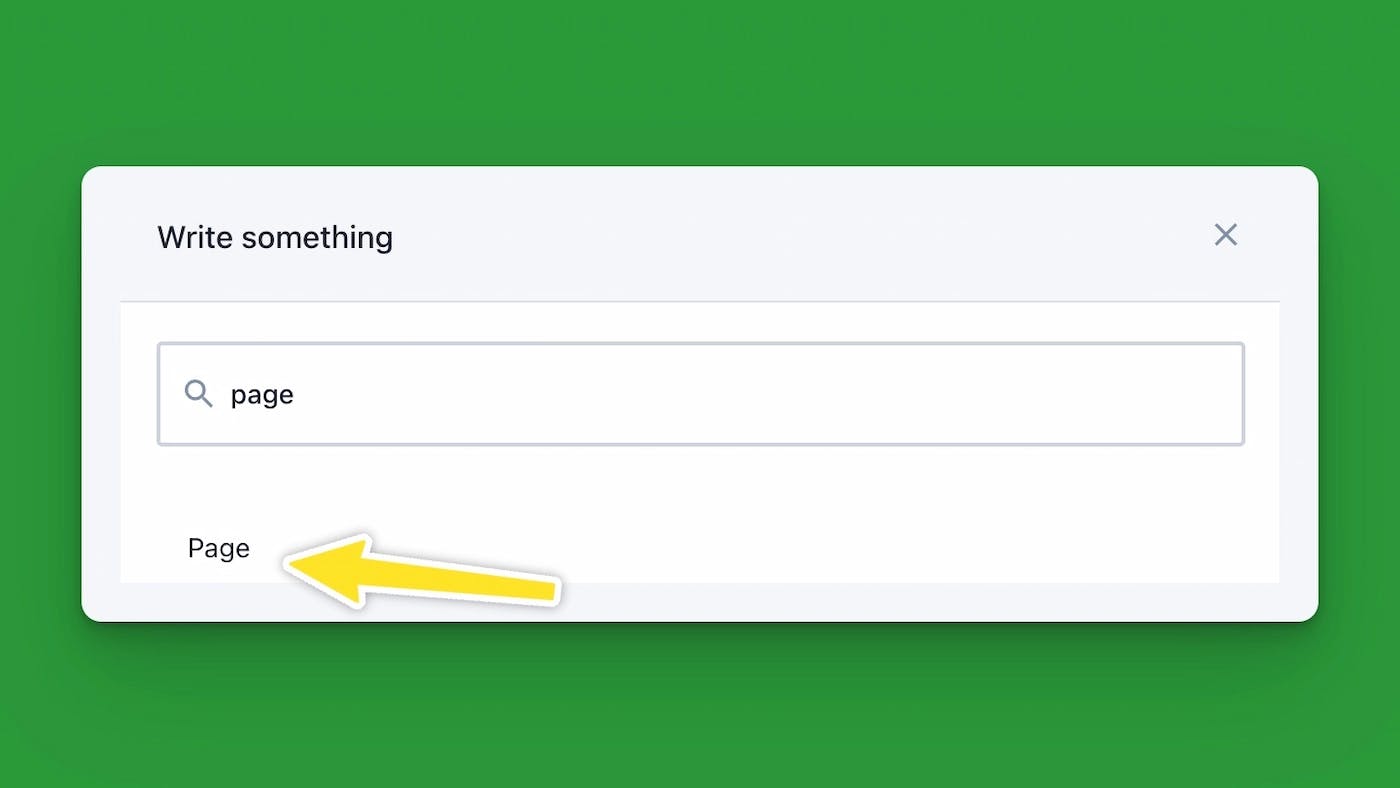
You can add a new page on the Documents screen in your Prismic dashboard. Navigate to the Documents page by clicking the Documents icon in the bar on the left-hand side of your screen.

Adding a UID
Every page needs a Unique Identifier (UID). This UID is the part of the URL that determines what page you visit. For example, if you create a new page and give it the UID of my-new-page, the url for the page would look something like www.mycoolwebsite.com/my-new-page.
Adding "slices" to your page
Slices are how we build pages in Prismic. A slice is a block of content that you can add to your page. Slices can range from an Image Banner to a content `Accordion`.
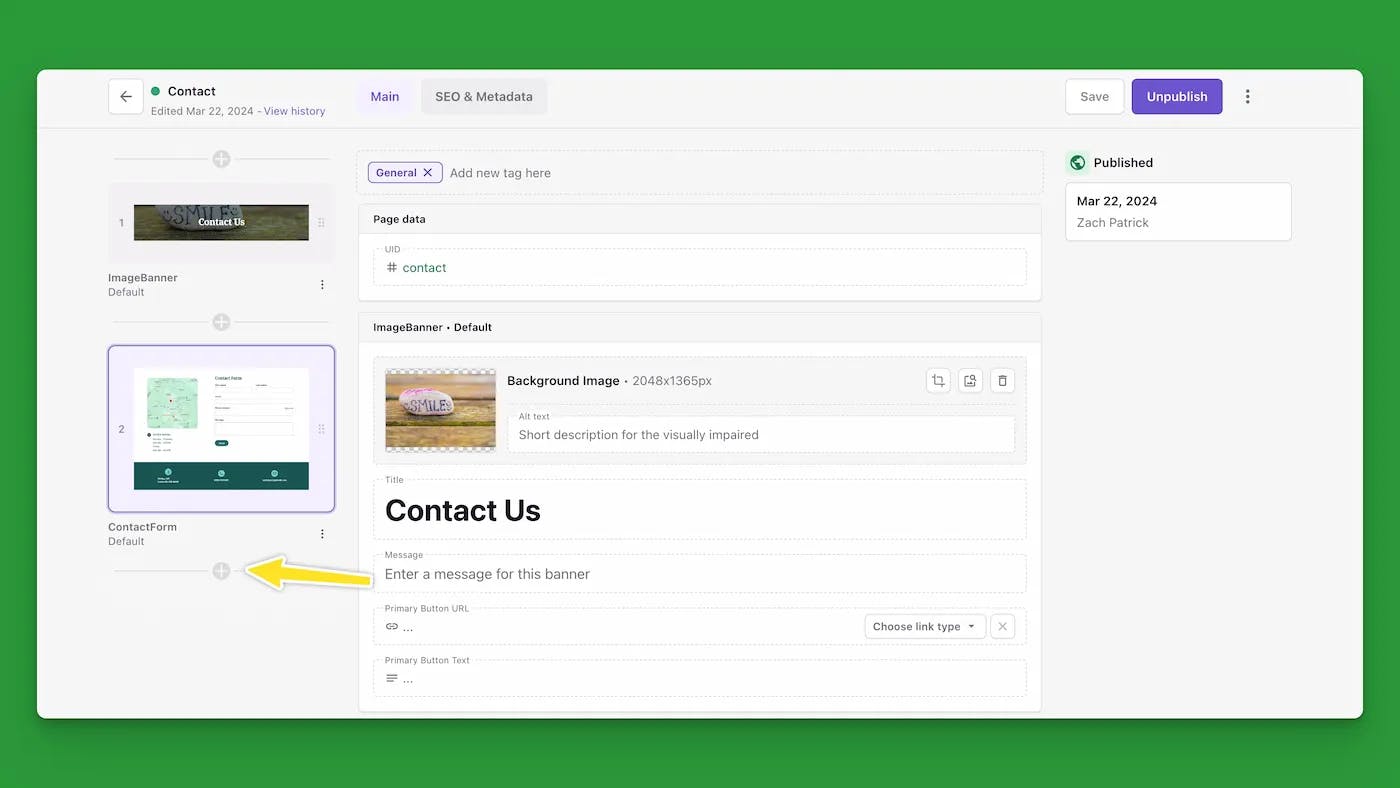
You can add new slices to your page by clicking a plus button on the left side of the page editor. As you add slices, more plus buttons will appear, letting you insert new slices anywhere on the page.
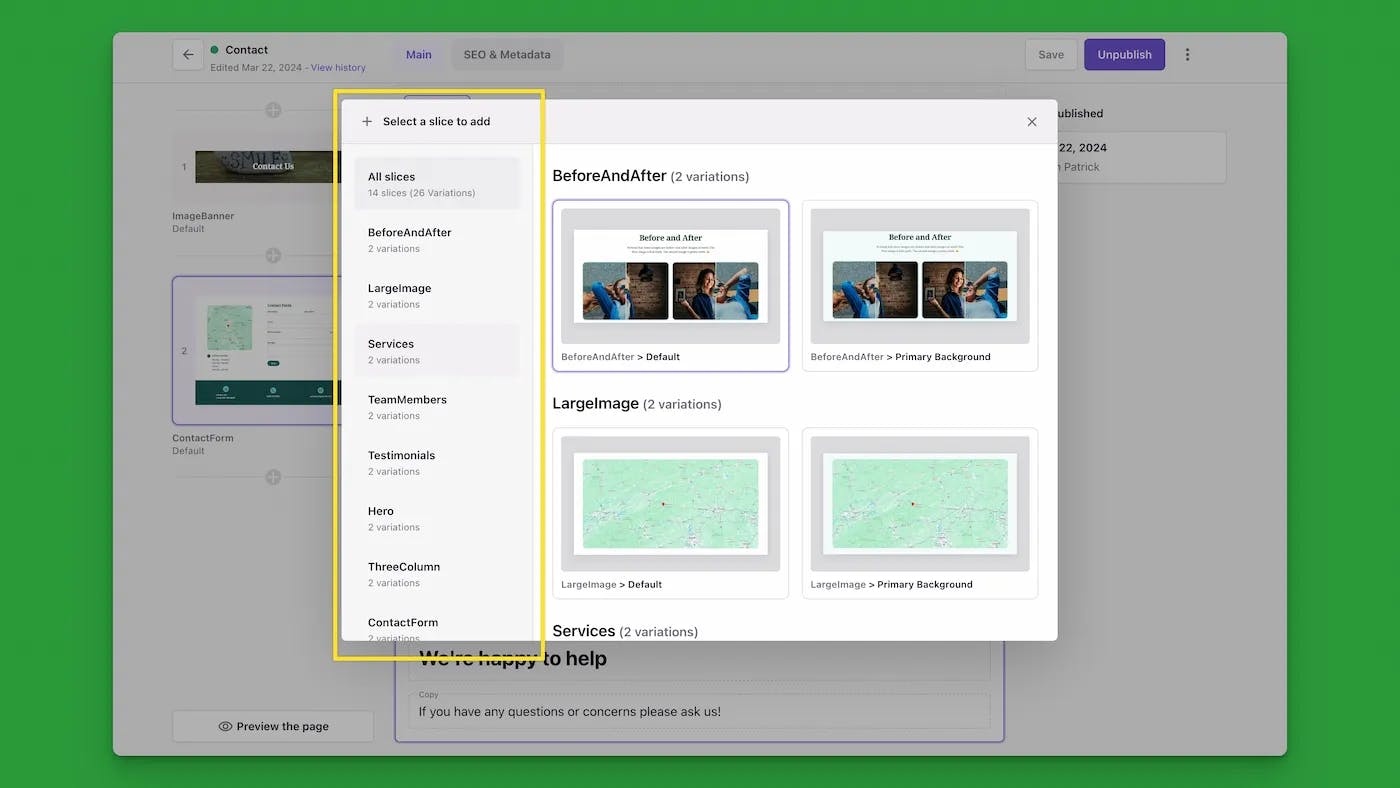
After you click one of the plus buttons to add a new slice, a popup will appear with the list of all the slices that are available for your website, with previews for each slice. Some slices may have multiple variations that can be selected.
Click on any slice you would like to add to your page, and fill out all the fields that apply to the content you're adding.
Prismic lets you save your work without immediatley publishing your changes to your website. So when you're finished building/editing a page and you're ready for the changes to appear on your website, don't forget to push the Publish in the top right!
Formatting text
If you would like to format a string of text you can do so by selecting the text and using the toolbox that pops up to format the text how you want.
When adding content to your website, please keep in mind the importance of using heading tags appropriately.
Edit an existing page
Editing a page is pretty much the same as creating a new page. Only instead of clicking the create new button and creating a page, you find the page you want to edit in the list of documents and navigate to that page to edit it.
Site settings
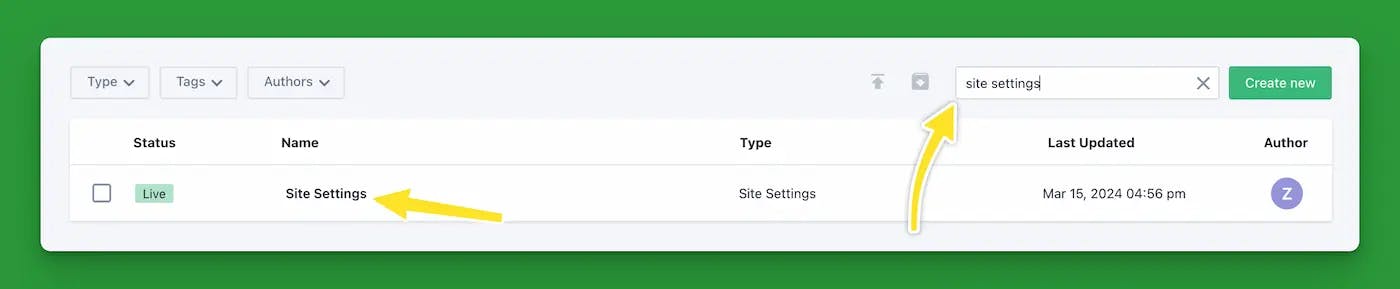
Some information, such as your social media info, will appear on multiple pages on your website. Maybe even every page. This information can be edited in the Site settings. To find your site settings all you need to do is search Site settings on the Documents page in the Prismic dashboard.
Updating your menus
Your website will likely have two menus; the Main menu and the Footer nav. These menus can be found from the Documents page in the Prismic dashboard. You can do a filter by type for Menu, to see all the menus on your website.
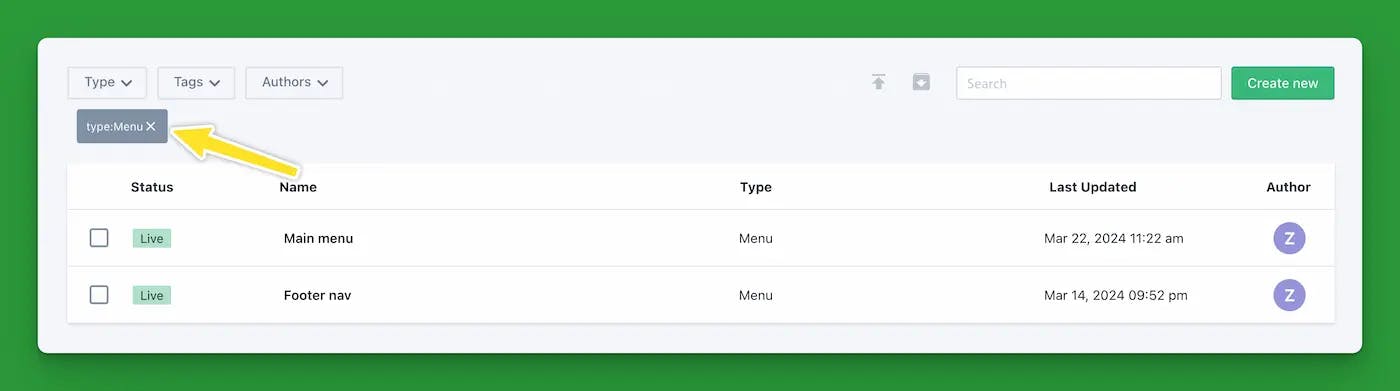
Depending on your website the menus may be similar to update. In this example will update the Main menu.
You can add a link to your menu in the same way you would add a piece of content to a page. On the left side of the page you can click a plus button to add a new slice. There will be one slice available with a default option and a Call to Action variation. Most of the time you will the default variation. You only want to add the Call to Action for one link the header that you want to stand out to people visiting your site.
Every link you add will need to have a Text Label and a Link. If you're linking to another page on your website you can choose a link type of Link to Prismic page and select the page you wish to link to. If you're adding a link to a page on a different website, or if the page you're linking to on your website isn't in Prismic (blog homepage), you can select Link to web page and add the link. If you're adding an external link (a link to a page on another website), it's often a good idea to check the box next to Open in new tab.
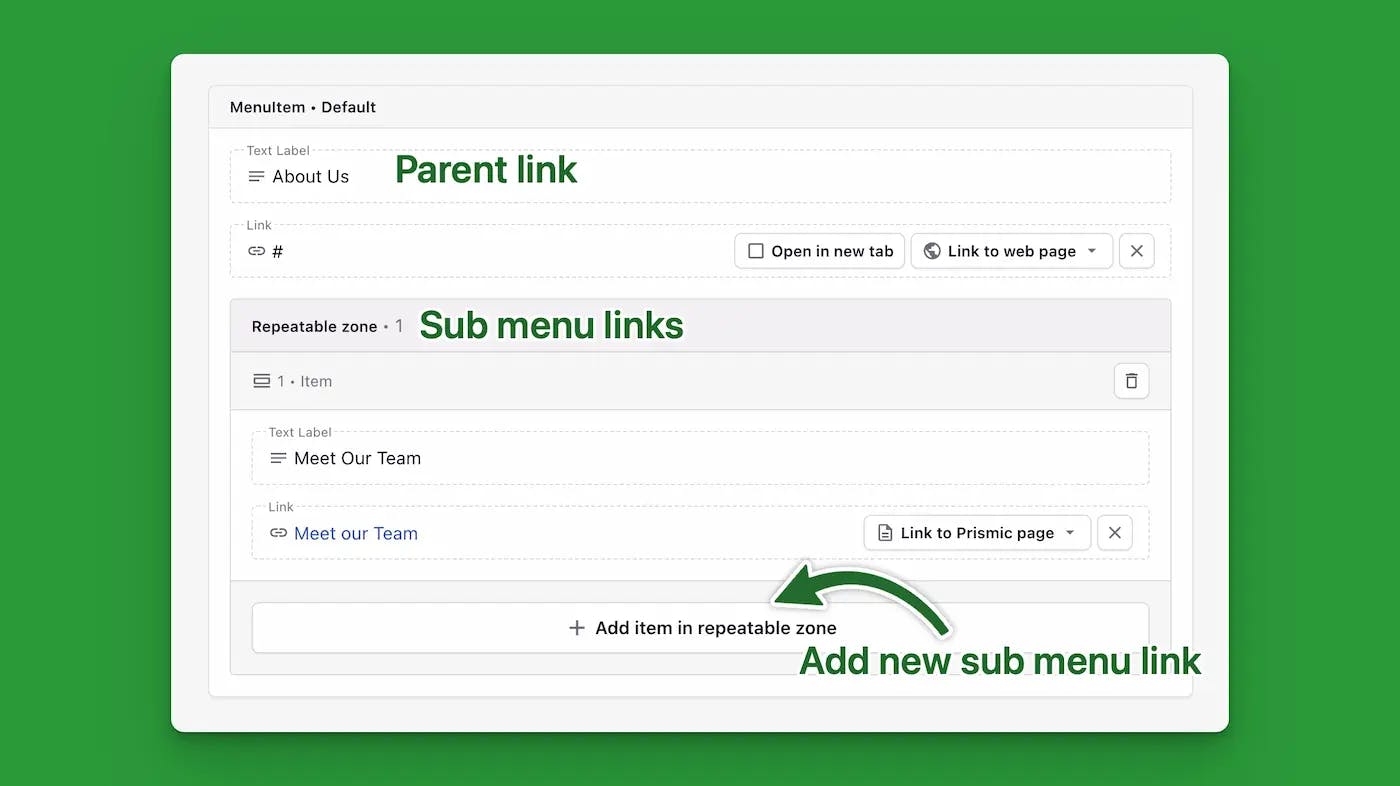
When you add a default menu item, you will have the option of nesting more menu items in a dropdown menu under the "parent" item. This is optional.
You can add "child links" by clicking the button that says Add item in repeatable zone.
Announcements
Announcements will appear at the very top of your website, and they will appear on every page. You can edit your announcement the same way you edit any other document. Find it in the documents section of your Prismic dashboard and click into the edit page.
If you don't have an announcement currently active, you may need to check in the Archives to see if one has already been created.
Edit the fields in the announcement to whatever you would like your announcement to say. Click save and Publish.
If you want to hide your announcement, you can click the Unpublish button in the top right.