

About a year ago I started working on making my home network smarter. Part of this process included upgrading my internet so it could fight bad guys. This post goes over how I set up my internet to block ads and tracking, and also keep out unwelcome content.
Is blocking ads legal?
Not only is blocking ads legal, but the FBI has even encouraged the use of ad blockers to avoid scammers.
Setting up AdGuard
In order to block ads and trackers on my home internet, I set up AdGuard Home in a Docker Container on an Ubuntu Linux Mini PC. I had originally used Pi-hole, which worked great, but I recently switched over to AdGuard. I mainly did this for fun. I was happy with Pi-hole, but just wanted to try something new.
To get started I created a folder where my AdGuard files will live. Then I added the following docker-compose.yml file.
docker-compose.yml
Next, I just needed to cd into my AdGuard folder and run sudo docker compose up -d to get AdGuard up and running.
I run the command using the -d flag so the container runs in detached mode and I don't have to keep a terminal tab open all the time.
Now that AdGuard is up and running, you can access the web UI to finish the setup. This can be done by going to the device's local IP address and adding the port specified in the docker-compose.yml. In my case the URL was 192.168.86.57:3000.
You should be greeted with a page that looks like this.
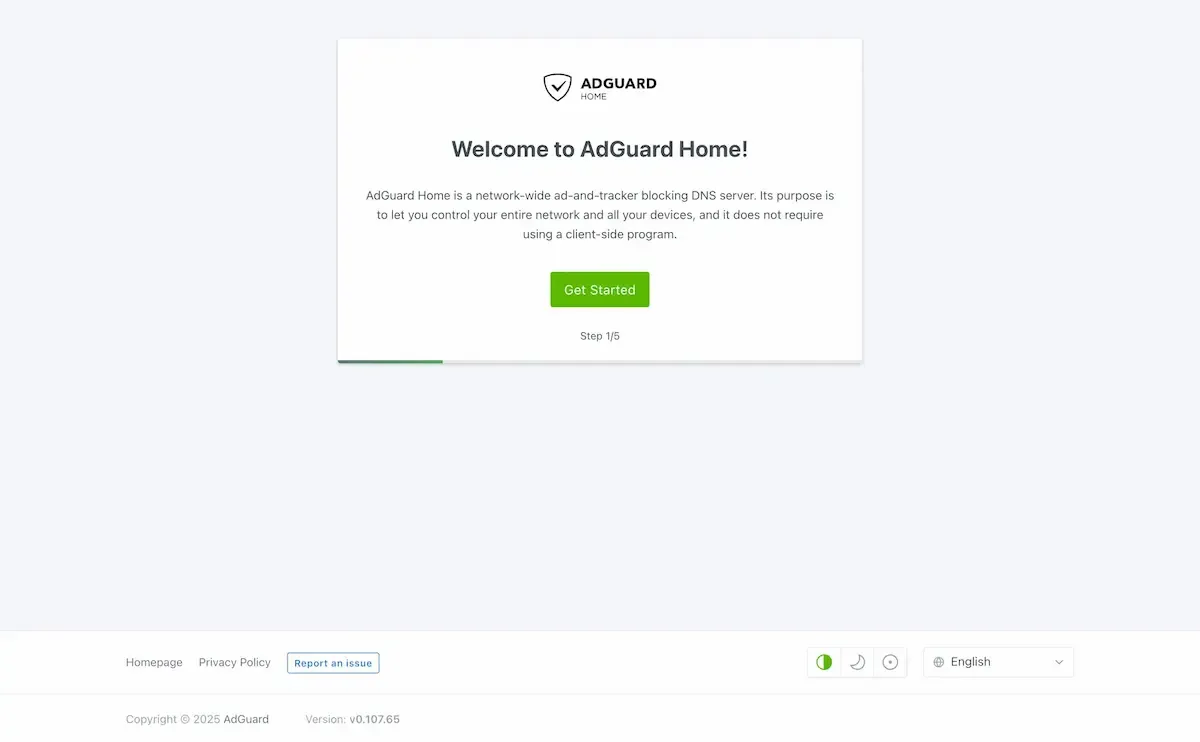
Now you just need to follow the setup guide to finish getting everything configured.
❗After setup is complete, you’ll no longer access AdGuard on port 3000. Instead, you’ll use the port defined here in your docker-compose.yml:
- 80:80/tcp
If you left it as port 80, you can simply visit the device’s IP address to view your AdGuard dashboard.
Now you should be able to see your AdGuard dashboard.

Routing traffic through AdGuard
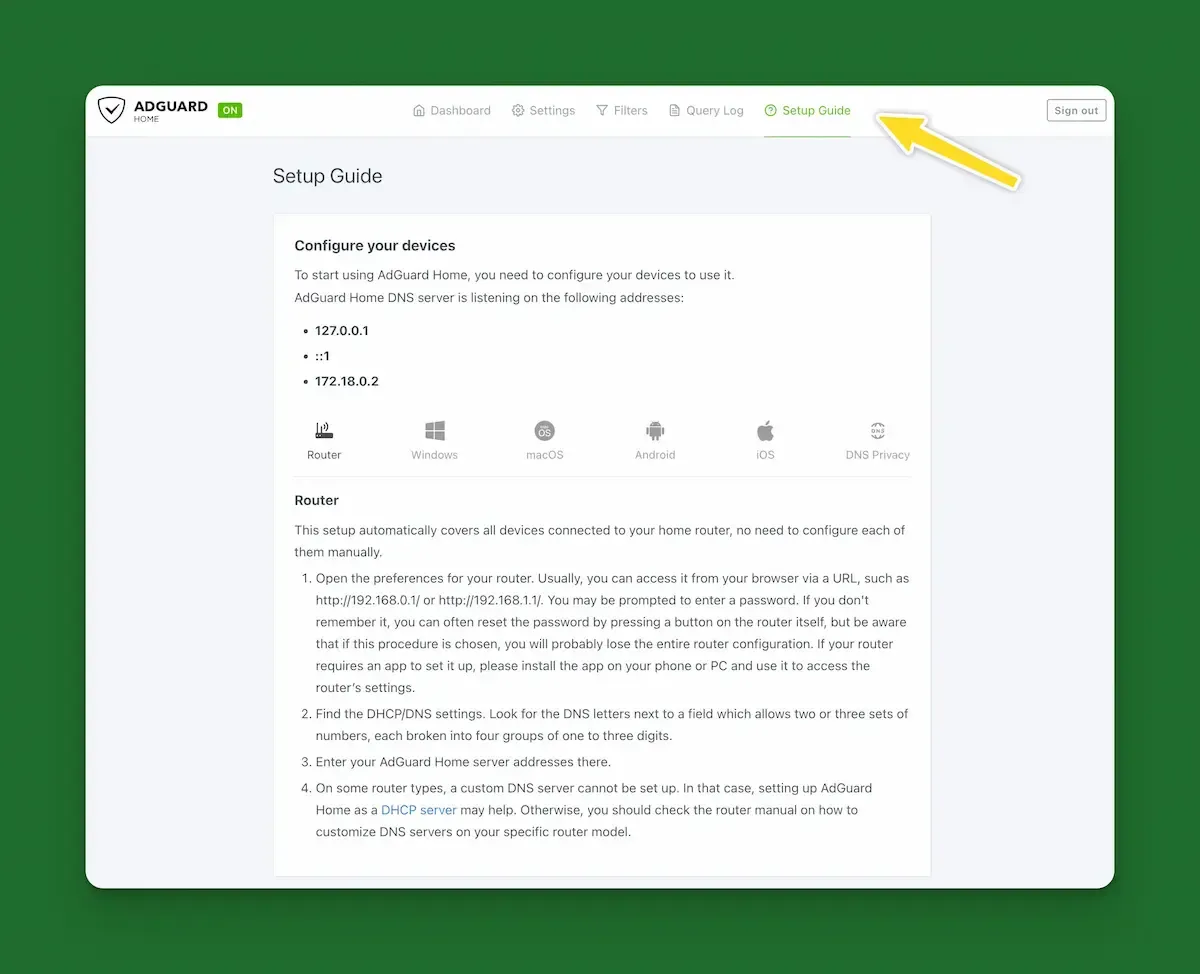
Now that AdGuard is running, you need to tell your router to use it. This is pretty simple to do and AdGuard has a setup guide that can be found on the web interface.
Once your router is configured to route traffic through AdGuard, you’re all set! AdGuard will now block ads and trackers for any device connected to your home internet. To test this, you can visit a website that you know serves ads and see if they're still showing up. For example, I often use serprobot.com, which normally shows plenty of ads, but if AdGuard is working, you shouldn’t see any.
Caveats
You might think with AdGuard all set up, you can go start watching YouTube ad-free. Well, that's not quite how it works. AdGuard blocks ads coming from external sources, meaning ads that are loaded from outside of whatever website or app you're using.
A lot of bigger companies (YouTube, Amazon, etc.) load their ads from the same domain that serves their content. So you technically can block those ads, but you would also be blocking the rest of the website as well, which wouldn't be super helpful.
Is the internet slower?
Not at all! I haven’t noticed any slowdowns since switching to this setup. If anything, it might even be a little faster now that it’s not loading all those ads and trackers with every page.
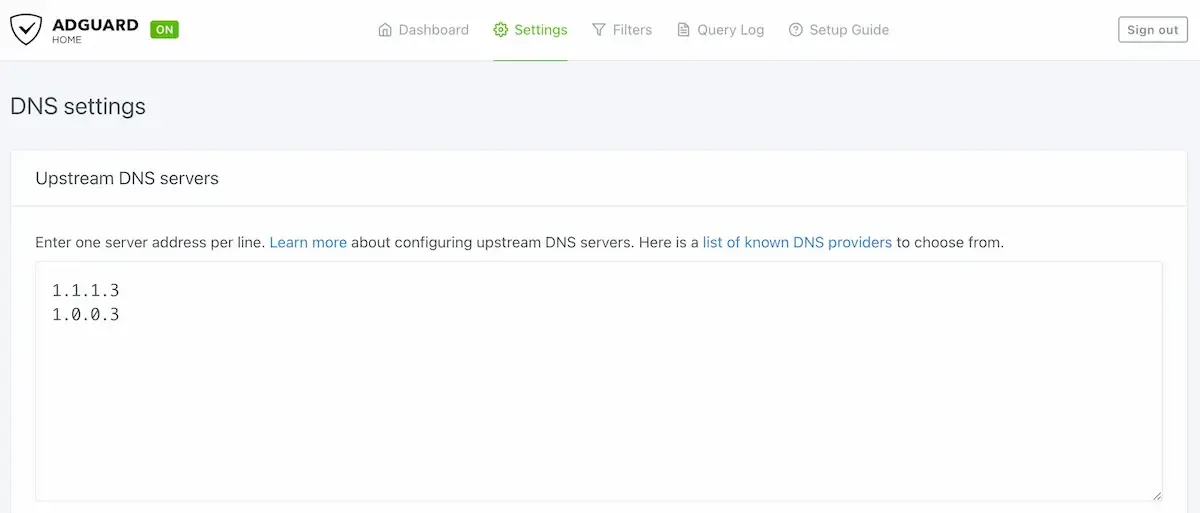
Blocking malware and adult content
Once AdGuard was blocking ads, I wanted a little extra protection to keep unwanted content out of my home. To do this, I updated the Upstream DNS server in AdGuard to use Cloudflare's DNS resolver meant for families by adding the following IP addresses:
bash
Blocking ads on the go
I'm obviously not home all the time, and it would be nice to take my privacy with me wherever I go! To do this, I set up Tailscale on my devices so that no matter where I go I'm always using my home internet.
Tailscale is super simple to set up and lets you easily create a network of devices that can all talk to each other.
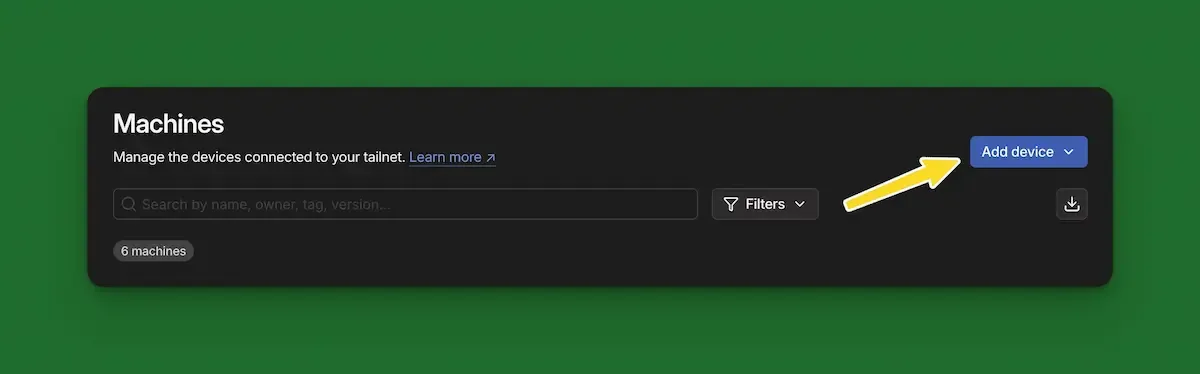
To copy this setup, you will first need to add Tailscale to the device running AdGuard, as well as any device you want to connect to your home internet. This can be done by clicking Add device on the Tailscale dashboard and following the install instructions.
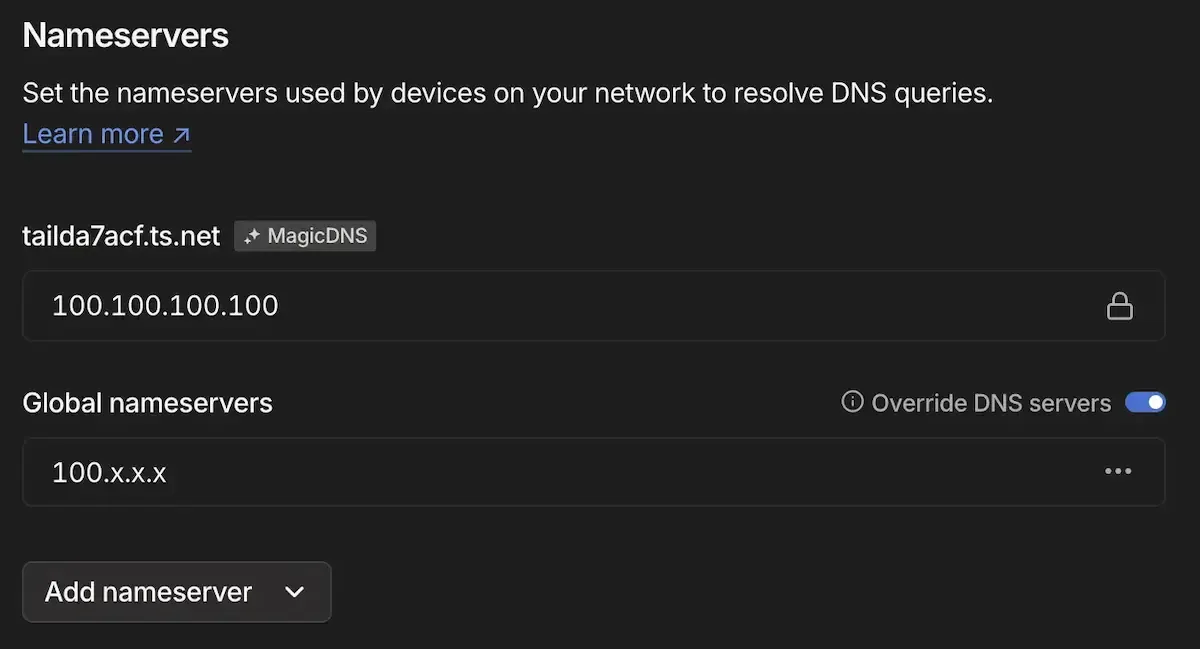
Next, grab the IP address that Tailscale assigns to your AdGuard device. You'll see it listed with your device in the device list. Once you have that, you can head over to the Tailscale DNS settings.

On the DNS page, scroll down to the Nameservers section and update the Global nameservers to the IP address of your AdGuard device.
Lastly, you will need to tell your devices to use the Tailscale DNS settings. On Mac it looks something like this:
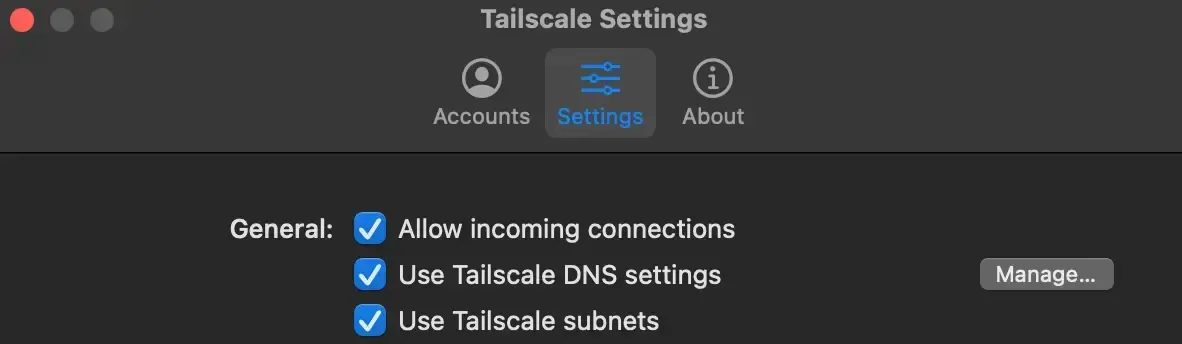
I keep Tailscale connected at all times on my MacBook since I use it for more than connecting to my home internet. On my iPhone, though, I have VPN On Demand enabled so it only connects when I’m away from home.
Wrapping up
Now that I have AdGuard set up, I’m free from so many ads and trackers. I can once again play mobile games without being bombarded with ads after every level. I can browse websites without the fear of running into hundreds of ads about foot fungus. I don't have to worry about Uncle Billy's Coffee Shop tracking my every move. I can finally live the life I was meant to live.